Introduction

Jekyll is a great platform for publishing content, but it can be quite difficult to get up and running on a local environment due to its dependencies. Jekyll is a blog-aware, static site generator in Ruby and in order to install it you need to ensure that you have the

  • correct version of Ruby installed
  • RubyGems installed
  • GCC / Make installed

If you’re not familiar with these tools (ruby , gem, bundle, ….) then getting up and running can be time consuming and cumbersome.

Depending on your OS, you might already have an existing version of Ruby, and you might need to upgrade or install other packages, potentially risking the sanity of other applications depending on those runtimes.

There must be a better way….

Enter Docker, the container technology that can help us encapsulate the jekyll specifics and its dependencies by keeping them contained.

Introduction

This document outlines some of my experiences with setting up Docker Swarm on an Azure Cloud. This post targets people who have some Docker experience, and that might have already deployed a Swarm cluster on-premise, or on cloud infrastructure, but haven’t taken a look at deploying it on Azure yet.

There are many ways on how to get Docker up and running on Azure, and choosing the right way isn’t always that straightforward.

For example :

  • Option 1 : You can spin up some VMs and install docker yourself
  • Option 2 : You can go to the Microsoft Marketplace and use a Docker CE Template
  • Option 3 : You can use the Azure Container Service, and use Swarm as your orchestrator
  • Option 4 : You can use the Docker Azure template provided by Docker

We’ll go over the different options, and explain why we decided to use the Azure template provided by Docker to setup our Swarm cluster on Azure.

Introduction

Having the ability to run a Kernel Basd Virtual Machine (KVM) on a hosted solution is a luxury you won’t easily find on most cloud providers (Amazon, Google, Azure). On my hosting provider, I can get a quad core i7 32gb RAM server for less than 70 euros / month, a fraction of the cost that you would pay with a cloud provider.

I tought it might be interesting to see what kind of virtualization options I had on Centos and stumbled upon KVM, LibVRT and Qemu.

Introduction

In this post we’ll be looking at several ways to use NiFi to interact with HTTP resources, both from a client and from a server perspective.

Nifi comes with a set of core processors allowing you to interact with filesystems, MQTT brokers, Hadoop filesystems, Kafka, ……. It also comes bundled with a set of HTTP processors that you can use to either expose or consume HTTP based resources.

We’ll be looking at the following processors that ship with Nifi:

For each processor we’re going to take a closer look at

  • Flow definition (how a typical NiFi flow would look like with this processor)
  • Processor configuration (how the processor can be configured)
  • Scheduling (how the processor is scheduled)
  • Data flow (how the data flows within the flow)
  • Thoughts and use-cases

Introduction

This is a small tip on getting your networking service up and running in Centos.

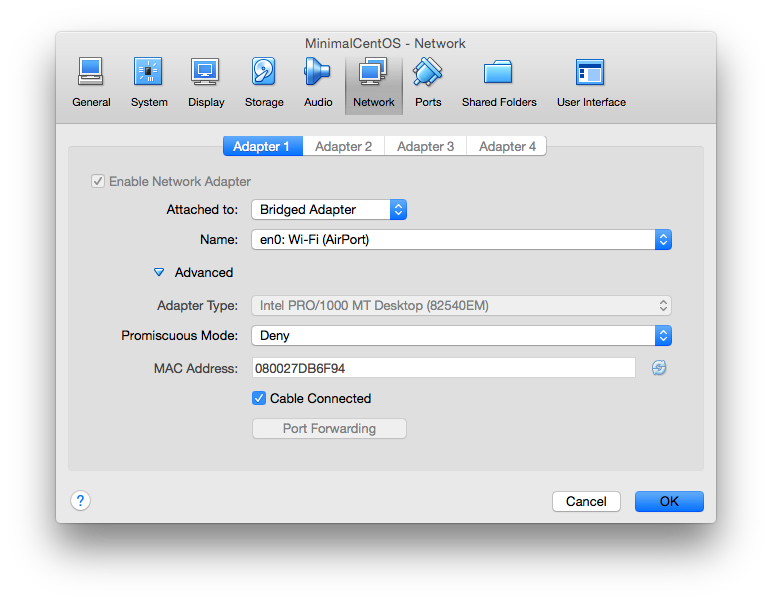
If you’ve ever wondered why you’re not getting an IP address on your CentOS VM in VirtualBox, even with the Bridged network adapter, then look no further….

Notice how you’re not getting an IP on the main enp0s3 interface.

[root@localhost ~]# ip a s
1: lo: <LOOPBACK,UP,LOWER_UP> mtu 65536 qdisc noqueue state UNKNOWN 
    link/loopback 00:00:00:00:00:00 brd 00:00:00:00:00:00
    inet 127.0.0.1/8 scope host lo
       valid_lft forever preferred_lft forever
    inet6 ::1/128 scope host 
       valid_lft forever preferred_lft forever
2: enp0s3: <BROADCAST,MULTICAST,UP,LOWER_UP> mtu 1500 qdisc pfifo_fast state UP qlen 1000
    link/ether 08:00:27:db:6f:94 brd ff:ff:ff:ff:ff:ff